Risk of Rain 2 expands upon the Shrine system by adding several new shrines and shop types, on top of those seen in the original. Any items unlocked by at least one player in the game are available.
As shrines and shops drop the item onto the ground, one player can pay for them and another may pick them up. The only exception is the Shrine of Blood.
Shrines and Altars[]
Chance[]
A shrine in which you can exchange your (hard-earned) money in the hopes of receiving a random item of a random rarity (including Equipment, but not Lunar items). The cost increases with each use even failed uses, and continuous failures will not always yield a noteworthy item. Up to two items can be received per shrine.
Blood[]
A shrine that takes a percentage of the activator's life (or shields) in exchange for gold, ranging from 50% of the user's health, to 75%, and lastly 93% before it can no longer be used. However, the profits gained are not shared between teammates in multiplayer. The total amount awarded is based on the user's maximum life, so having a higher health pool will naturally award more gold. The gold is received even if the damage is blocked by a Tougher Times proc.
These shrines are risky to use and caution should be taken when activating one in the open, as the player will need to regenerate their health, and enemy spawns can prove fatal, especially at higher thresholds.
Note: Having a Fuel Array equipped while interacting with a Blood Shrine will cause the Fuel Array to explode and you will die. (A Fuel Array explodes when under -50% Max HP)
Combat[]
A single-use shrine that summons one large, powerful enemy (a large elite or boss enemy, for instance) or a group of lesser enemies - elite or normal. The enemies that are summoned are influenced by the current map, and they are usually slightly more powerful than current spawns, with both greater damage and a higher health pool. Higher difficulty means more, stronger enemies, especially Malachites and Celestines in the late-game time of a run.
Mountain[]
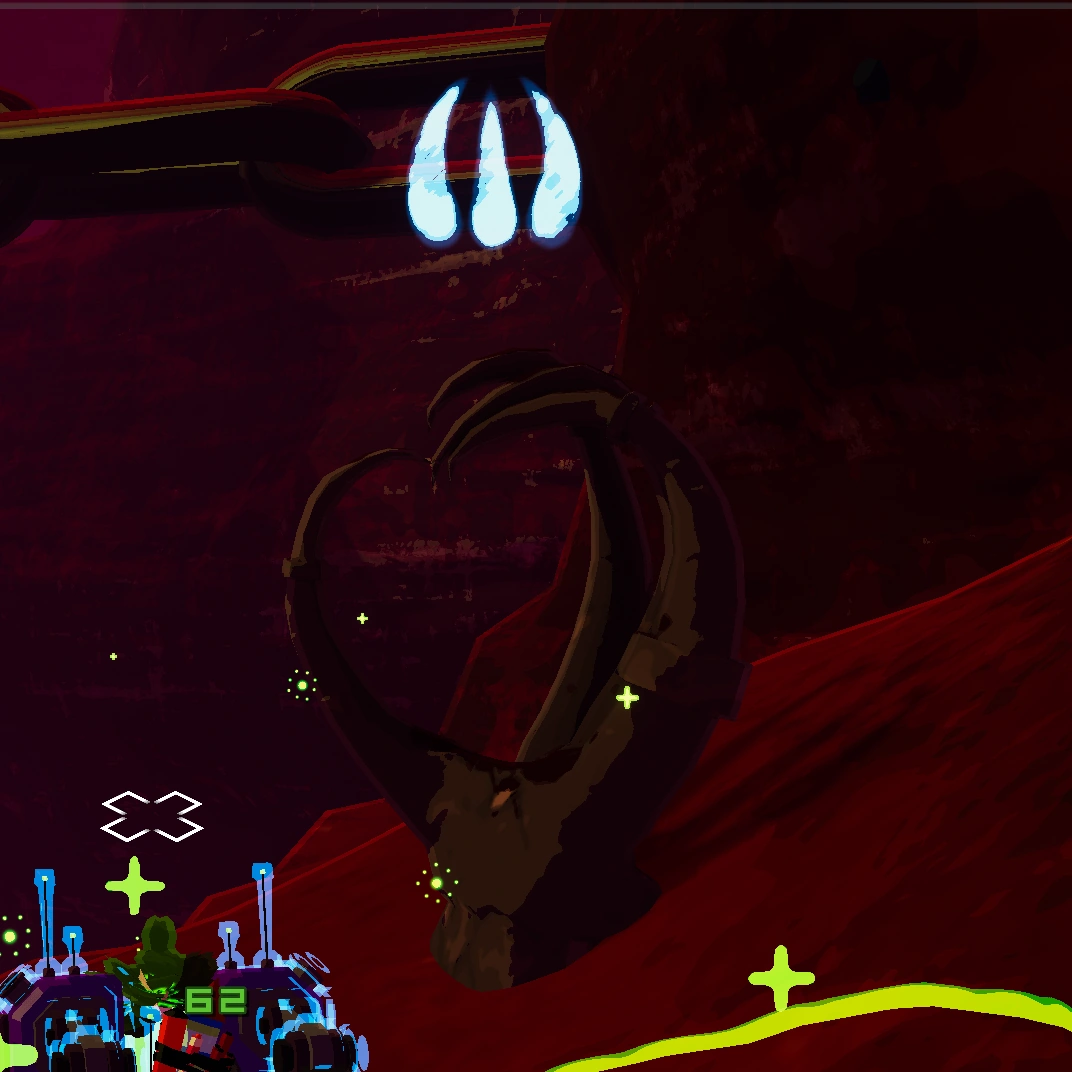
An unactivated Shrine of the Mountain. Activating the shrine will cause the white icon to disappear, reappearing above the teleporter.
Single-use. Turns the boss battle at the Teleporter into the mountain's challenge, meaning more bosses (of the same type) will spawn, and one more item (each item is the same) will be awarded per player. Each shrine gives one more item and spawns more bosses. Can be stacked up to thrice if three separate Mountain Shrines spawn, but as the game replaces a certain amount of the same enemy with an elite, an elite boss will likely spawn.
Defeating the boss after using two Shrines of the Mountain completes the Ascendant Challenge, and unlocks the Royal Capacitor equipment for future playthroughs. As these Shrines also increase the likelihood of an Elite Boss spawning, they are useful when chasing the Deicide Challenge.
Activating one adds a special icon over the Teleporter, making it easier to see.
Woods[]
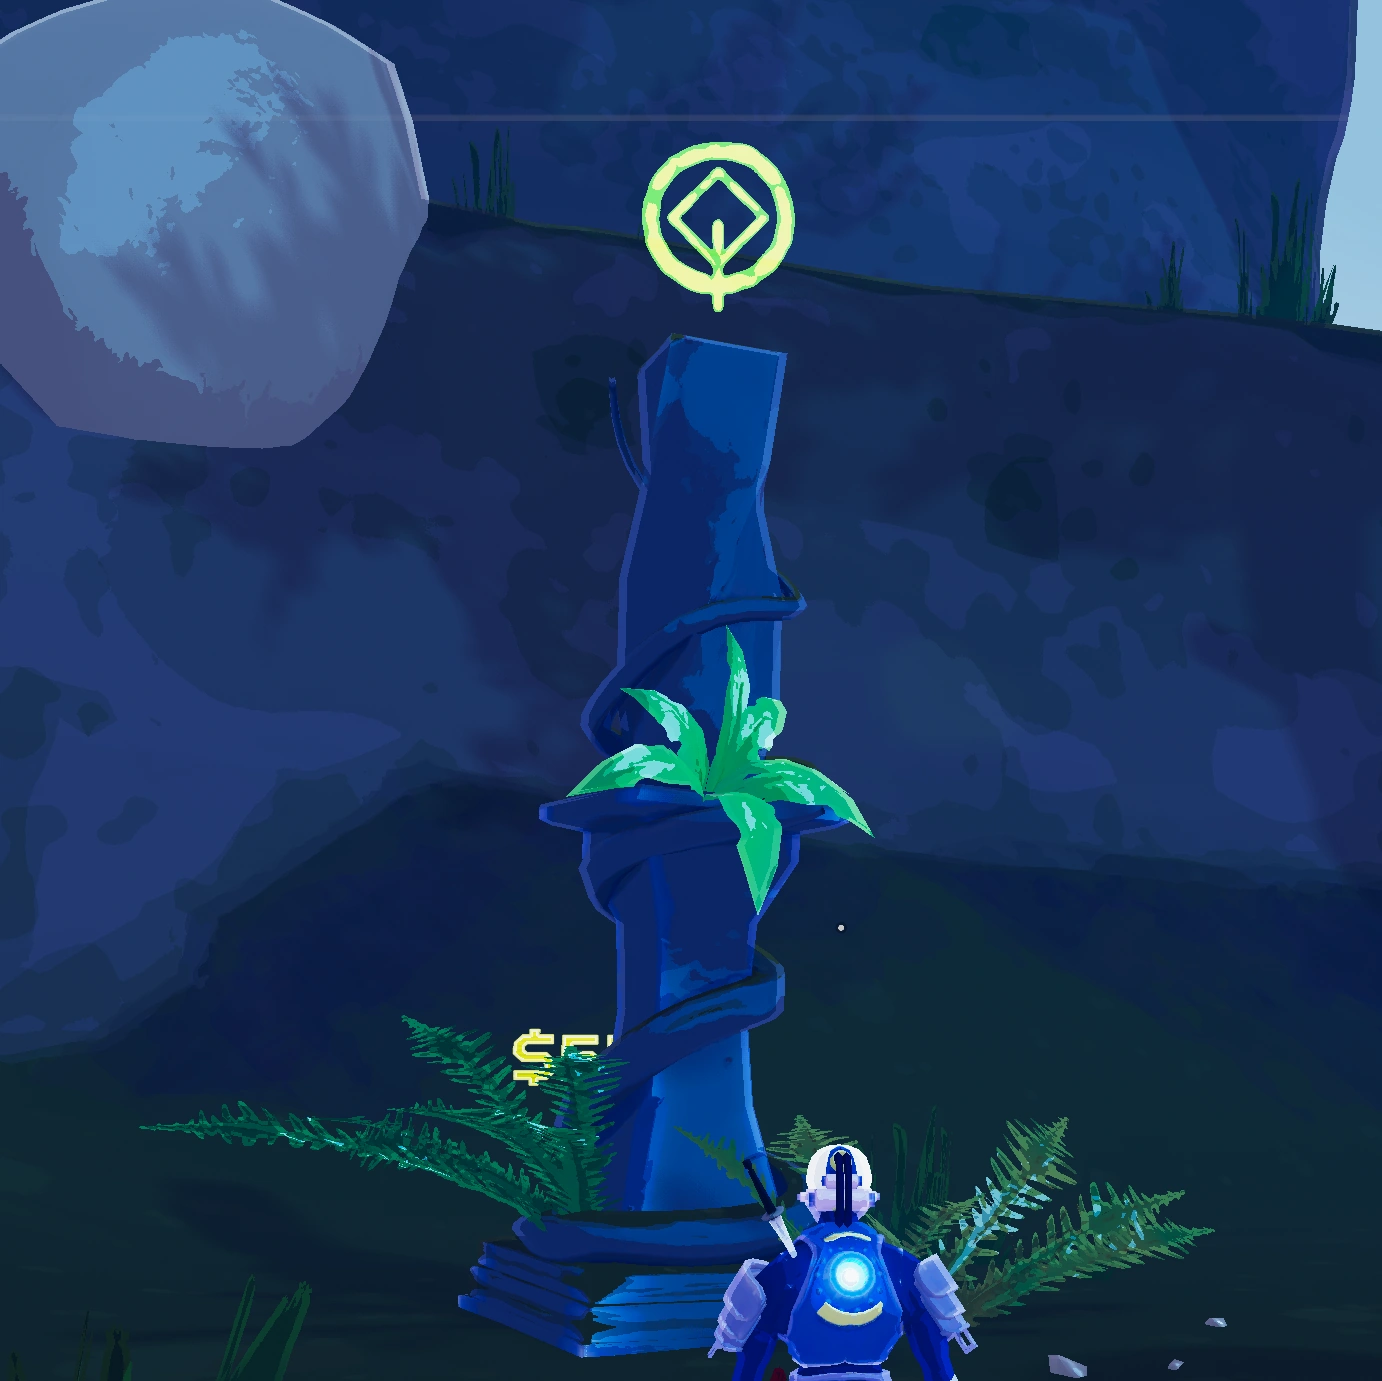
A Shrine of the Woods.
can only be found in the Distant Roost, one of the first stages, Scorched Acres, and Siren's Call.
Fully upgrading a Shrine of the Woods completes the One With The Woods Challenge, and unlocks the Gnarled Woodsprite Equipment for future playthroughs.
Altar of Gold[]
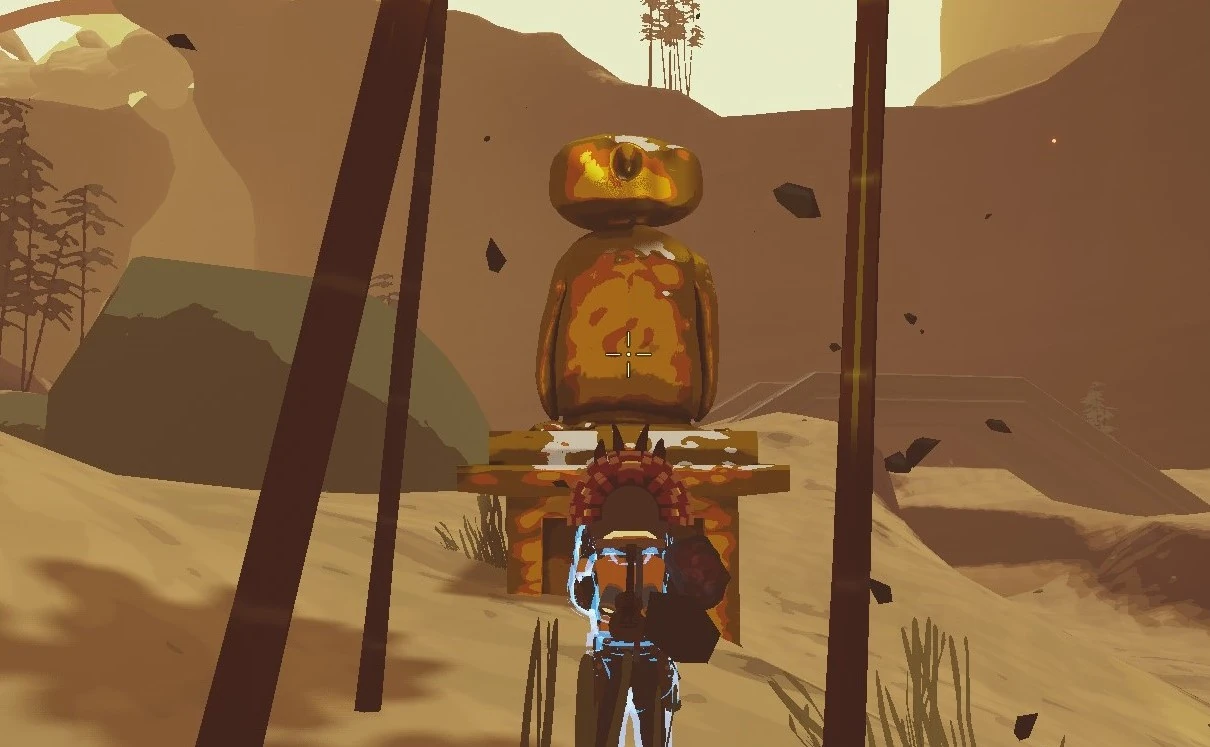
A single-use, extremely rare, type of shrine that's similar in appearance to the shrine of chance, but coated with gold. Offer a substantial sum of gold (compared to other map purchases) and it will spawn a "Gold Orb" on the Teleporter that will spawn a Gold Portal upon completing the Teleporter event. This golden portal will take the players to the Gilded Coast, a secret combat stage.
An Altar of Gold
Shops & Chests[]
Barrel[]

A small pill-shaped barrel that grants a small amount of money and experience when opened. They can be opened for free.
Chest[]
A small standard chest that costs a modest amount of money to open. Usually contains a Common item(~79.2%), with a small chance to get an Uncommon item(~19.8%), and an even lower chance to get a Rare instead(~0.99%).
Large Chest[]
A larger chest with three heavy bars on top. Costs twice as much as a regular chest to unlock, but the item within is always Uncommon(80%) or Rare(20%).
Legendary Chest[]
An even larger golden chest that costs sixteen times as much as a regular chest to open, but always contains a Rare item. They start appearing in the fourth level, Abyssal Depths. More than one can spawn, but there is always one in a tight cave in the middle of the map. After the first loop, they may spawn on any map.
Cloaked Chest[]
A free version of a normal chest which is entirely invisible. Locating these generally requires the Radar Scanner. If one is found, opening it is free.
Rusted Lockbox[]
A unique chest that only spawns if a player is in possession of a Rusted Key at the start of the level. Opening one consumes the Rusted Key, but provides Uncommon or Rare items, similar to a Large Chest.
Terminal[]
Offers a choice of three items; once any one item is purchased, the other two are locked off and become inaccessible. Up to two may be random (or secret) items of a given rarity, indicated by a giant ? with a rarity-colored border. All items on offer are of the same rarity. They can be the same item. legendary tri terminals do not exist
3D Printer[]
Converts a random held item into the specific item shown by the printer. Only takes items of the same rarity. Can be used an infinite number of times, limited only by the number of same-rarity items the player has to convert.
Has a chance to give one of the Aspect Equipment instead
A printer that makes Rare items is called a Mili-Tech Printer.
A printer that makes Boss items is called an Overgrown Printer
Lunar[]
Newt Altar[]
A newt shaped altar, adorned with blue crystals, that costs 1 Lunar Coin to activate. If used before initiating the teleporter boss battle, it spawns a 'blue orb' that then turns into a Blue Portal upon completing the teleporter event. The portal leads to the Bazaar Between Time. The Bazaar sells five random Lunar items for 2 Coins each, and offers the possibility to "Reforge" random items of the same rarity for a specific Uncommon (3 Common items) or Rare (5 Uncommon items) item. The Bazaar is also where players can unlock the Artificer for 10 Lunar Coins.
After the Teleporter event is triggered, the Newt Altar becomes inert and cannot spawn a portal.
Lunar Pod[]

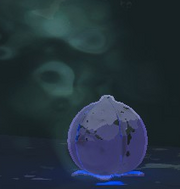
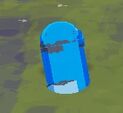
A closed Lunar Pod
Costs 1 Lunar Coin to open, and contains 1 random Lunar item.
Shrine of Order[]

A Shrine of Order
Costs 1 Lunar Coin to activate, single-use. Converts all currently-held items of all rarities into a random single item of that rarity that the player currently holds. This means using one will not give the player any items they don't already have in their inventory.
This can be very strong (e.g. converting all white items into Soldier's Syringes for a huge boost to attack speed), but as the player may wish to have multiple different items of a specific rarity, like Fuel Cells and Ukuleles, using one is not always desirable.